Printing on plastic products is very common in many industries today. You see logos, instructions, or decorative designs printed on almost all plastic products. But printing on plastic is not easy due to its smooth, curved, and irregular surface. That’s where pad printing machines come into play. But the question arises: How to print on plastic with a pad printing machine?
Actually, these machines directly transfer prints onto plastic surfaces with high accuracy. But pad printing involves several steps and a proper setup. That’s why beginners might find this process difficult. But you need not worry! In this guide, I will explain how to print on a plastic product efficiently and without mistakes using a pad printing machine. So let’s get started.
What is Pad Printing?
Pad printing is a process that transfers an image or design onto different surfaces. It uses a soft silicone pad to pick up ink from an engraved plate. That ink is then pressed onto a product. Due to the pad’s flexibility, this method is especially useful for printing on curved, uneven, or irregular surfaces, such as plastic.
In simple terms, pad printing transfers a 2D image onto a 3D object. If we discuss it further, pad printing is very simple to use with pad printing machines. First, the design is engraved onto a metal plate of the machine called a cliché. After that, ink is spread over the plate, and the engraved design plate holds it in place. A silicone pad then presses onto the plate to pick up the inked design.
That design can be anything, such as a logo, image, pattern, words, or numbers. In the end, the pad with the inked design is moved to the product. It gently presses the ink onto its surface, so the design is printed onto plastic. What sets pad printing apart from traditional printing methods is its ability to print complex designs. This is because the pad’s flexibility adapts to different shapes and allows clear designs.
How to Print on Plastic with a Pad Printing Machine: Step-by-Step Process
Have you got the basics of pad printing? If yes, know that this process follows a structured workflow. To print on plastic with a pad printing machine, follow the proper guidelines. Hence, to make things easier for you, I will discuss a few steps to help you print on plastic successfully.
Step 1: Prepare the Plastic Surface
The first important step in printing on plastic with a pad printing machine is surface preparation. Generally, plastics have non-porous surfaces. That’s why the ink often does not stick properly to this surface. So you must prepare the plastic surface first. First, clean the plastic product carefully. Dust, oil, or grease can prevent the ink from bonding to the plastic.
So clean it using alcohol wipes, cleaning solutions, or compressed air. After cleaning, you need to treat the plastic surface. Why? That’s because plastic has lower surface energy, which makes it harder for ink to adhere. To resolve this issue, you can use surface treatment methods. Some of those include flame, corona, or plasma treatment. These treatments allow the ink to stick better and produce a clear, durable print.
Step 2: Create the Printing Plate
After surface preparation, the next step is creating the printing plate, which is also called a cliché. This plate is typically made of steel or a polymer and features the desired design. Those designs are engraved or etched into the surface of this metal plate. You can buy ready-made printing plates or create them on your own.
To create this plate, you first need to design it digitally. Techniques such as laser engraving, chemical etching, etc., transfer the design onto the plate. These methods remove a thin layer from the plate surface to create precise, detailed engraved lines. Now, this plate contains the design you want for your plastic product.
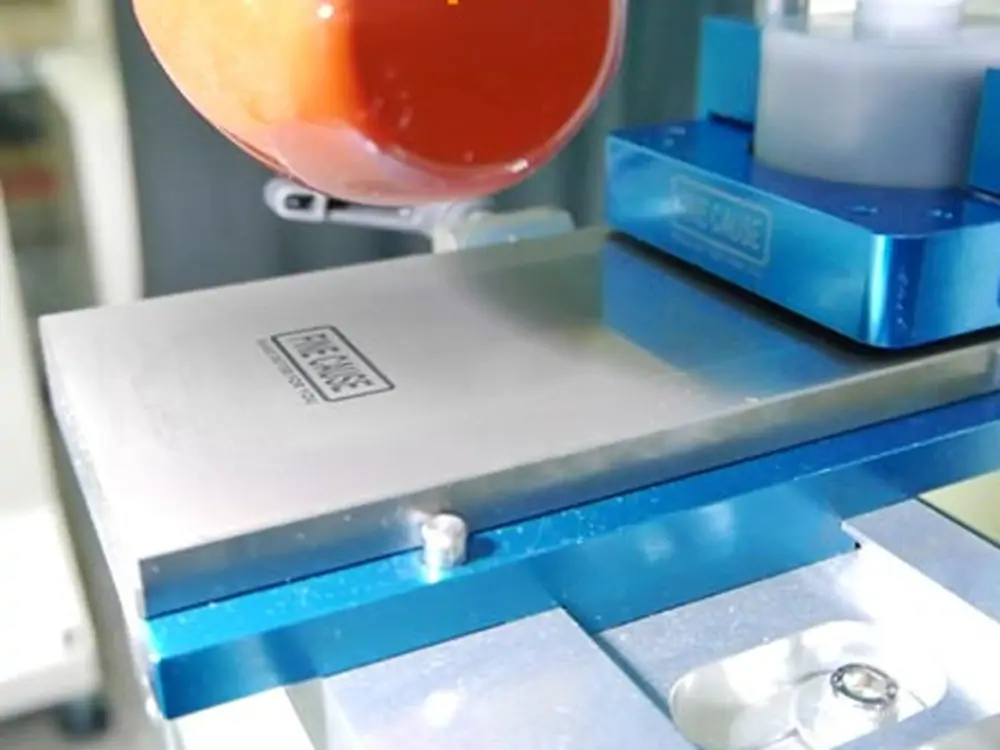
Step 3: Add Ink to the Plate
After the printing plate is ready, the next step is to add ink to it. In this stage, you have to apply the ink over the surface of the engraved plate. However, pad printing machines use specialized inks. These include solvent-based, two-component, and UV inks. Each of these ink types has unique features and uses. So you can pick the one that matches your needs.
However, several 2-color pad printing machines also allow you to use multiple inks for different color patterns. Once you choose the ink type, spread it over the entire surface of the plate. Then, using a tool known as an ink cup (doctor blade), move the ink across the plate. This tool evenly distributes ink and removes excess ink from flat, non-engraved areas. In the end, you have to make sure that the ink stays only in the grooves of the design.
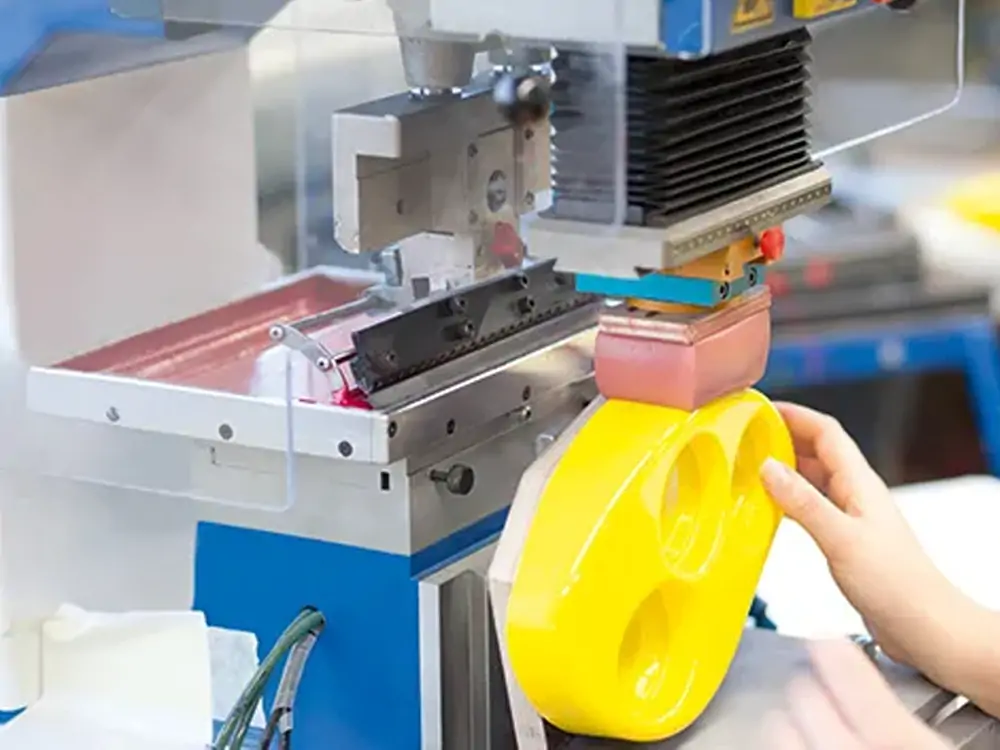
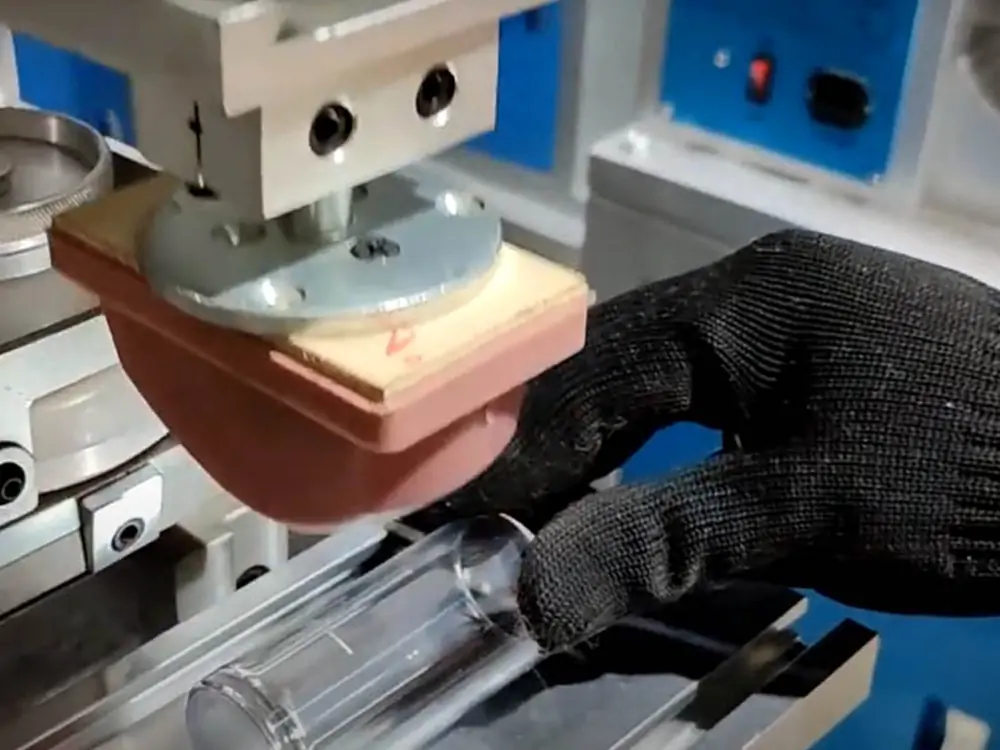
Step 4: Pick Up Ink with the Silicone Pad
After spreading the ink on a pad printing plate, you pick it up and apply it to your plastic product. Several automatic pad printing machines have attached silicone pads. These machines themselves pick up the ink using the silicone pad and transfer it to plastic. This automation reduces human effort and errors and saves on labor costs.
The silicone pad is soft and flexible, which can bend and adapt to the shape of different surfaces. So, the pad printing machine gently presses this pad onto the engraved area of the plate. As this pad is tacky and flexible, it picks up the ink exactly from the grooves of the design. It then lifts off the plate, carrying the designed ink with it.
Step 5: Transfer Ink to the Plastic Object
Once the silicone pad has picked up the ink from the printing plate, the next step is to transfer it to the plastic product. This is the actual step in which the desired design is finally printed on the plastic product. So the pad carefully carries the ink and gently presses it onto the plastic surface. As I mentioned above, the silicone pad is highly flexible, allowing it to be printed on curved, uneven, or irregular surfaces.
When it presses the ink onto the plastic, it adjusts to the shape of the object. But at this point, one thing you have to ensure is that the pressure of the pad must be just right. Remember, too little pressure may result in a faded print. However, too much pressure may smudge the design. After this step, the ink is transferred from the pad to the plastic. You can clearly see the engraved design on your product.
Step 6: Dry or Cure the Ink
Once the design is transferred to the plastic product, the final step is to dry or cure the ink. The fresh ink is still wet and can smudge, fade, or peel if not properly set. In this step, curing makes the print permanent, durable, and scratch-resistant. There are different ways to dry or cure the ink depending on the type used. For example, if you have used solvent-based ink, you can dry it naturally in the air.
If you want to speed up the curing process, you can also use heat for this ink. However, UV-curable inks need special ultraviolet light to harden instantly. Likewise, two-component ink requires a combination of heat and chemical hardeners for curing. Once the ink dries, the printed design sticks well to the plastic surface. Lastly, check the durability, quality, and print visibility.
Tips for Achieving High-Quality Plastic Pad Printing
No doubt, printing on the plastic is tricky due to its non-porous surface. However, pad printing machines can still effectively print plastic products. Still, many beginners worry about print quality. That’s why I will discuss some tips to enhance print quality on plastics with pad printing machines.
- Choose the Right Silicone Pad: The silicone pad is a key tool in pad printing. So you must choose the right one for an effective result. Actually, these pads come in different shapes, sizes, and hardness levels. Hence, choose a shape compatible with the plastic object. Similarly, choose the right pad hardness and size based on the plastic nature and type.
- Maintain Proper Ink Viscosity: Secondly, maintain the printing ink’s viscosity properly. If the ink is too thick, it will transfer fully, while if it is too thin, it will spread unevenly. So always mix the ink well and adjust with a thinner to maintain its consistency.
- Control Pad Pressure & Alignment: For high-quality print on plastic, the pad pressure matters a lot. Too little pressure can leave the design incomplete. However, too much pressure can smudge the print. So, adjust the pressure setting on the machine and make sure the pad is properly aligned with the plastic surface.
- Maintain the Pad Printing Machine: Regular maintenance of the pad printing machine is crucial. Clean the machine daily to remove dried ink, dust, and debris that can affect printing. Also, check moving parts, pads, plates, and the ink cup for wear or damage. If needed, replace them.
- Dry or cure the Ink Properly: Print quality largely depends on the ink’s curing. Curing ensures that the print is durable and clear. Different inks need different methods, as I said above. Hence, follow the correct temperature, time, and curing method to ensure the print sticks well.
Frequently Asked Questions
Can pad printing be done on all types of plastic?
Pad printing works on most plastics. However, some, such as PP and PE, have low surface energy, which causes the ink to stick poorly. To print these plastics, you need surface treatments like flame, corona, or plasma to ensure that the ink adheres properly.
Are pad printing machines cost-effective?
Yes, pad printing machines are cost-effective. They require relatively low setup costs compared to other printing methods. Also, these machines ensure minimal waste and long-lasting prints, which prove cost-effective in the long run.
Can the same pad print multiple colors on plastic at once?
No, a single pad cannot print multiple colors at once. Each color usually requires a separate printing plate and pad. Hence, the plastic product must go through multiple printing cycles to apply all colors.
Conclusion
Printing on plastic is generally considered difficult due to its non-porous surface. Such a surface does not easily allow the ink to stick. That’s where the pad printing machines play a key role. However, newbies get confused when printing plastic with these machines. That’s why, in this article, I have discussed a few steps that help you print plastic effectively.
These machines basically use silicon pad ink and printing plates. The printing plate contains the desired engraving. First, the ink is spread onto this plate. The machine uses a silicon pad to transfer this ink with a design onto the plastic surface. On drying, the design is permanently printed on the plastic surface. In short, using a pad printing machine, you can achieve clear, durable, and professional-looking prints on plastic.