Sometimes you pick up a plastic bottle, food container, cosmetic jar, or chemical container and notice the company logo printed on it. Right? That logo might seem like a small detail at the time, but in reality, it matters a lot to the company’s identity. It helps customers recognize the brand and makes the product look more professional. But a question arises: How to print logos on plastic containers?
Actually, printing the logo on a plastic container is not just about adding the ink. Instead, the type of plastic, the shape of the container, and the printing method all affect the final result. But if you are new to the topic, all of this may feel technical to you. However, there is no need to worry! In this guide, I will explain what logo printing is, the techniques involved, and how to print a logo. So let’s get started.
What is Logo Printing and Why Does It Matter?
Logo printing is the process of placing a company’s logo, name, or design directly onto the surface of a product, such as a plastic container. Instead of using a separate sticker, the logo becomes part of the container’s surface. It turns a plain container into a branded product that customers can easily recognize.
So basically, logo printing is a way to give a product its own identity. You might notice that a logo is the first thing people notice when they see a product. Now, if that logo is professional and good-looking, customers recognize the brand and remember it more easily. This directly enhances the distinct brand reputation.
It also makes the container more professional. Print shows the company cares about quality. Even if two products are similar, many of us feel more confident choosing the one with clear and well-made branding. Right? So that’s the logo printing that builds trust, makes products easier to identify, and creates the same brand image on every package.
The interesting thing is that logo printing is not always done in the same way. Instead, it is done in many ways depending on the type of plastic, the container’s shape, and the required quality. The purpose of all those methods is to create a logo that stands out from a distance. Here are some of the most common logo printing techniques for plastic containers.
- Screen Printing
- Pad Printing
- Heat Transfer Printing
- In-Mold Labeling (IML)
- Digital Printing
- UV Printing
- Dry Offset Printing
- Hot Stamping
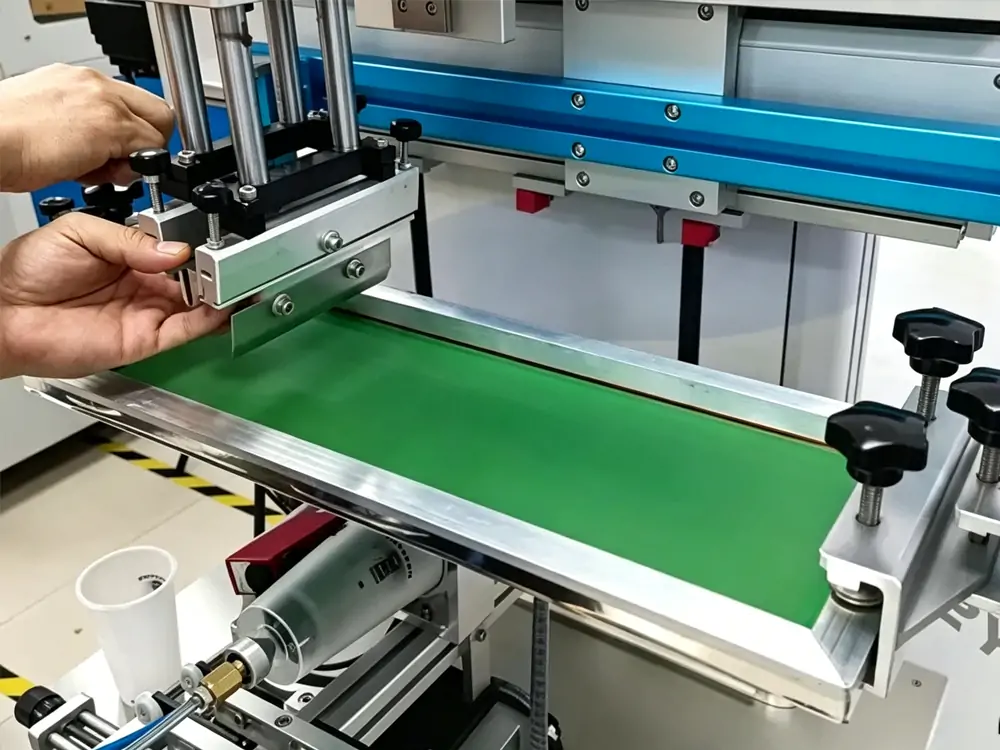
How to Print Logos on Plastic Containers: Step-by-Step Process
Now you understand the basics of logo printing and its importance, right? Now you must know that a good logo print does not happen by chance. Instead, it is the result of careful planning, proper preparation, and the right printing method. If you want to print a plastic container or want to know how it is actually printed, here are a few steps you must know about.
Step 1: Choose the Right Plastic Container & Create the Logo Design
The very first thing you have to do is to choose the right plastic container on which you want the print. Actually, different containers are made from different types of plastic. All those plastic types accept printing differently. So choose the plastic type according to the printing method you will use. Besides this, the container’s size, shape, color, and surface also matter.
So carefully decide on everything at this stage. Once the container has been selected, the next step is to create the logo design. Remember, the logo design should be simple, clear, and easy to recognize. It should also fit the available space in the container so it doesn’t look too small or too crowded. For logo creation, you can use a design program such as Adobe Illustrator or CorelDRAW, or an online logo maker.
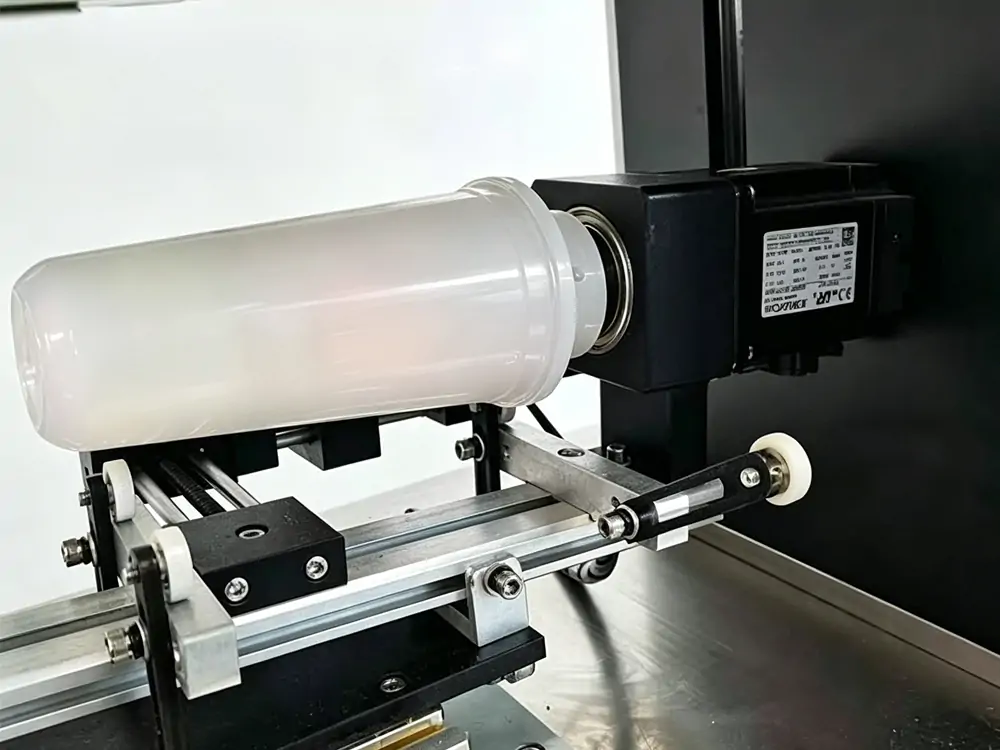
Step 2: Select the Best Printing Method
After the logo design is ready, the next step is to choose the right printing method. As I listed above, you can see there are several printing methods. Among those, the best one is the one that matches your plastic container type, its shape, and the number of colors in the logo. Suppose you want to create a simple logo with one or two colors.
In this case, screen printing is the effective option. Similarly, if you want a colorful, highly detailed logo, digital printing is your best option. In this way, keep your logo’s detailed needs and print durability in mind. After that, choose the method that perfectly matches all these needs.
Step 3: Prepare the Container Surface
Now you are sure which printing method is best. Right? Next, prepare the plastic container you want to print. In this preparation, the first step is deep cleaning. Remember, if any dust, oil, or grease remains, the print will fade quickly. First, clean the container and dry it completely. Also, certain types of plastic require special surface treatment. If you have that one, then you should not ignore that treatment as well.
Step 4: Print the Logo
Once the container surface is ready, it is finally time to print your desired and designed logo on it. Every printing method uses a special machine. So you have to place your plastic container under that machine. This machine will transfer the logo from the design onto the container using the selected printing method. However, before that, you should configure settings such as printing speed, details, ink type, and color. If any of these are incorrect, the logo may appear blurry, uneven, or incomplete. But now there are modern printers that create logos precisely with accurate settings.
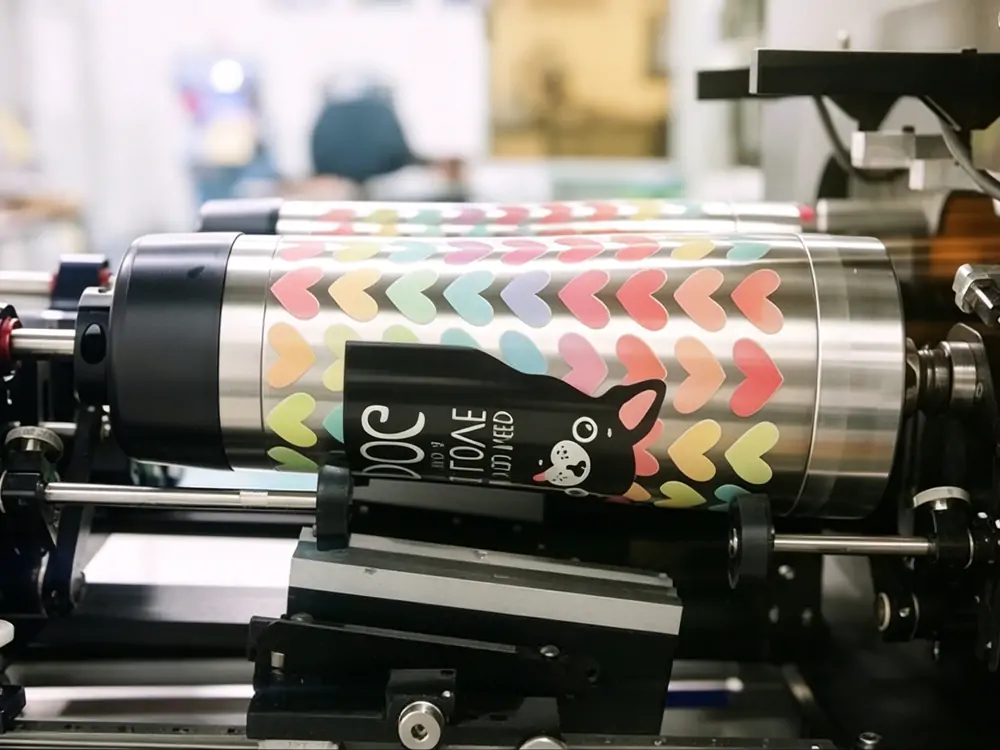
Step 5: Dry or Cure the Ink & Inspect the Print Quality
After the logo is printed, the ink remains wet. That’s why you must dry it before using or packing the container. If not, all the print will peel off or fade away after short use. So you can dry your printed container using different drying methods. For example, you can use heat or UV light to cure the ink. Once the ink is dry, carefully inspect the logo quality. This inspection ensures that the logo meets the required quality standard. A well-made printed logo will be clear, sharp, and placed in the correct position. Also, it must look even, with no smudges, missing areas, or bubbles.
Step 6: Pack and Store the Printed Containers
After the printed logo has passed the quality inspection, the containers are ready to be packed and stored. But still, they should be handled carefully to prevent scratches, dents, or damage to the printed logo. So store your printed containers in a clean, dry place away from excessive heat, direct sunlight, and moisture. These conditions are what affect the quality of the print over time.
Factors to Consider Before Printing a Logo on Plastic Bottles
As you can see, printing logos on plastic bottles is very easy. However, as a beginner, you can make some mistakes that can ruin the entire print. To prevent those, here are some factors that you must consider.
- First, consider the type of plastic bottle. Different plastics have different surface properties, so they do not all hold ink in the same way. When you understand its nature, you can choose the right printing method and the right types of ink that will last longer.
- Secondly, the shape of the bottle has a direct effect on how easily a logo can be printed. Flat surfaces are generally easier to print than curved ones. Bottles with unusual shapes require special equipment. So it is crucial to understand the bottle shape to make a durable print.
- Logo design and its color also matter a lot during logo printing. So before printing, check that the logo is clear, properly sized, and easy to recognize. Keep in mind that very small text or overly detailed designs will not print as sharply.
- As you know, different printing methods are designed for different production needs. So you should also understand your production needs and then choose the right method. For example, for large production, you can choose screen printing and pad printing. But for detailed graphics or smaller quantities, you can opt for digital printing.
- Lastly, think about how the plastic bottle will be used after printing. If the bottle will be used in demanding environments, choose a strong printing method and ink. It should provide strong resistance to fading, scratching, and peeling.
Conclusion
Logos play an important role in a company’s brand identity. You can see them on every type of plastic container. A well-made logo directly attracts customers’ attention, enhancing brand reputation. But making logos on plastic containers looks like a very technical process. In reality, you just need to follow the right steps and choose the right printing method. The result that comes will surprise you. But remember, before printing a logo on a plastic bottle, know that plastic comes in different types. So before starting anything, understand your bottle type, its shape, and the ink type, and then choose the right printing method.