UV screen printing is one of the top-notch methods for printing on different materials. It produces high-quality results and long-lasting prints.
UV screen printing may encounter issues such as poor ink adhesion, incomplete curing, pinholes, uneven ink coverage, color inconsistency, screen blockage, and image distortion. We have discussed all these key issues and explored the right solutions. Let’s know together.
Problem #1: Poor UV Ink Adhesion
Poor ink adhesion may occur sometimes. Ink doesn’t bond properly to the surface, causing unexpected peeling and cracking in the designs.
This problem is more prominent on glass, acrylic, polypropylene, polyethylene, and coated metals.
Common Causes
There are a few causes of the poor UV ink adhesion.
- Dust, oil, grease, or fingerprints on the substrate
- Incorrect UV ink for the selected material
- Low surface energy of the substrate
- Insufficient surface treatment
- Incompatible substrate coatings
- Inadequate UV curing
- Excessively smooth printing surfaces
- Residue from cleaning chemicals
Typical Solutions
You should follow the solutions below.
- Clean the substrate thoroughly before printing.
- Use a compatible cleaning solution that does not leave residue.
- Select UV ink specifically formulated for the substrate.
- Use corona, plasma, or flame treatment when appropriate for difficult materials.
- Apply a compatible primer or adhesion promoter when recommended by the ink manufacturer.
- Check UV lamp intensity and curing conditions.
Problem #2: Incomplete or Uneven UV Curing
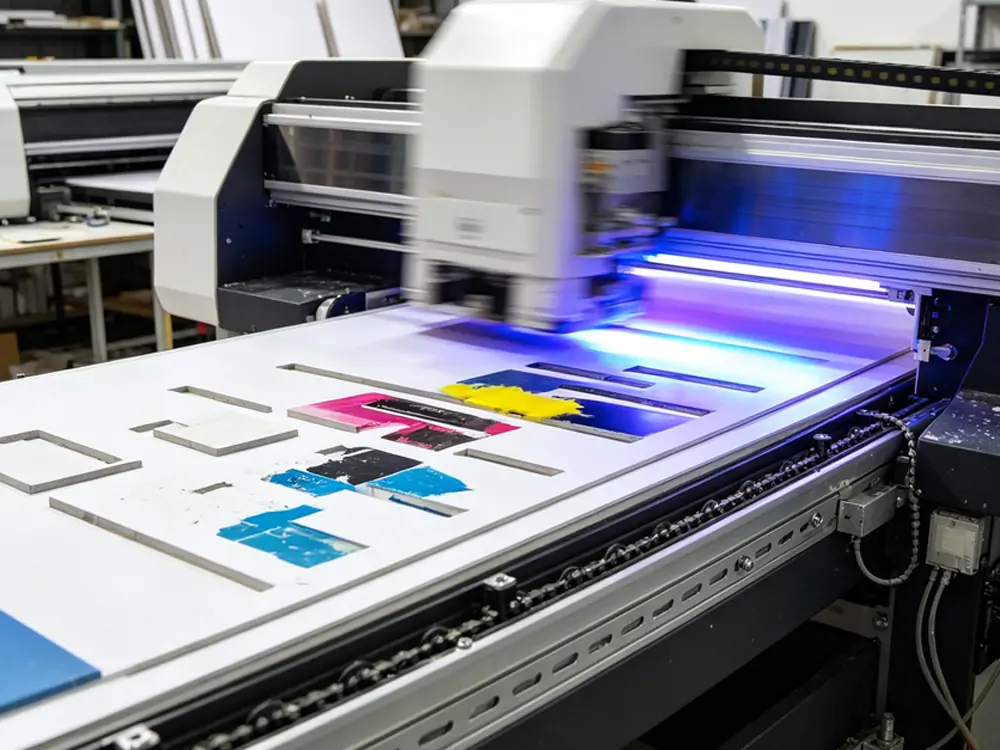
UV Curing is essential for quality binding and long-term printing performance. UV activates and ensures the integrity of the prints.
Incomplete curing can cause distortion or, sometimes, cracking and peeling of the prints.
Common Causes
Here are a few causes of incomplete and uneven UV Curing.
- Low UV lamp intensity
- Aging UV lamps
- Dirty lamps or reflectors
- Excessive printing or conveyor speed
- Incorrect lamp-to-substrate distance
- Excessively thick ink deposits
- Incorrect curing settings
- Incompatible ink and curing equipment
Typical Solutions
Typical solutions are here.
- Check UV lamp output regularly.
- Clean lamps and reflectors to remove dust and ink residue.
- Reduce conveyor speed if the ink requires additional UV exposure.
- Maintain the recommended distance between the UV lamp and substrate.
- Avoid unnecessarily thick ink deposits.
- Replace aging UV lamps when their output becomes insufficient.
Problem #3: Pinholes and Small Voids in Prints
Pinholes and Small Voids are tiny unprinted spots that distort the overall beauty of the prints. It makes solid graphics look rough and incomplete.
Pinholes are often associated with contamination, stencil problems, poor screen preparation, or inconsistent ink transfer.
Common Causes
Here are a few typical causes of pinholes and small voids.
- Dust or dirt on the screen
- Contaminated substrates
- Poor stencil preparation
- Incorrect stencil exposure
- Damaged stencil areas
- Improper mesh tension
- Air bubbles in the ink
- Incorrect squeegee pressure
- Uneven screen surfaces
Typical Solutions
Here are a few tips to fix these issues very easily.
- Clean the substrate before printing.
- Thoroughly clean and inspect the screen before use.
- Check the stencil for pinholes or damaged areas.
- Ensure the stencil is properly exposed and developed.
- Maintain appropriate mesh tension.
- Remove excessive air bubbles from the ink before printing.
Problem #4: Uneven Ink Coverage
Uneven ink coverage causes uneven distribution. A few areas look thinner while others may look thicker. At times, the design may fade as well.
Common Causes
The common causes of uneven ink coverage include:
- Inconsistent squeegee pressure
- Worn or damaged squeegee blades
- Incorrect printing speed
- Improper screen tension
- Incorrect off-contact distance
- Inconsistent ink viscosity
- Poor stencil preparation
- Uneven substrate surfaces
- Incorrect ink deposit
Typical Solutions
We have added the following tips to tackle such issues effectively.
- Maintain consistent squeegee pressure.
- Use a clean and properly maintained squeegee.
- Replace worn or damaged squeegee blades.
- Keep printing speed consistent.
- Check and maintain proper screen tension.
- Adjust the off-contact distance correctly.
- Maintain consistent UV ink viscosity.
Problem #5: Color Inconsistency
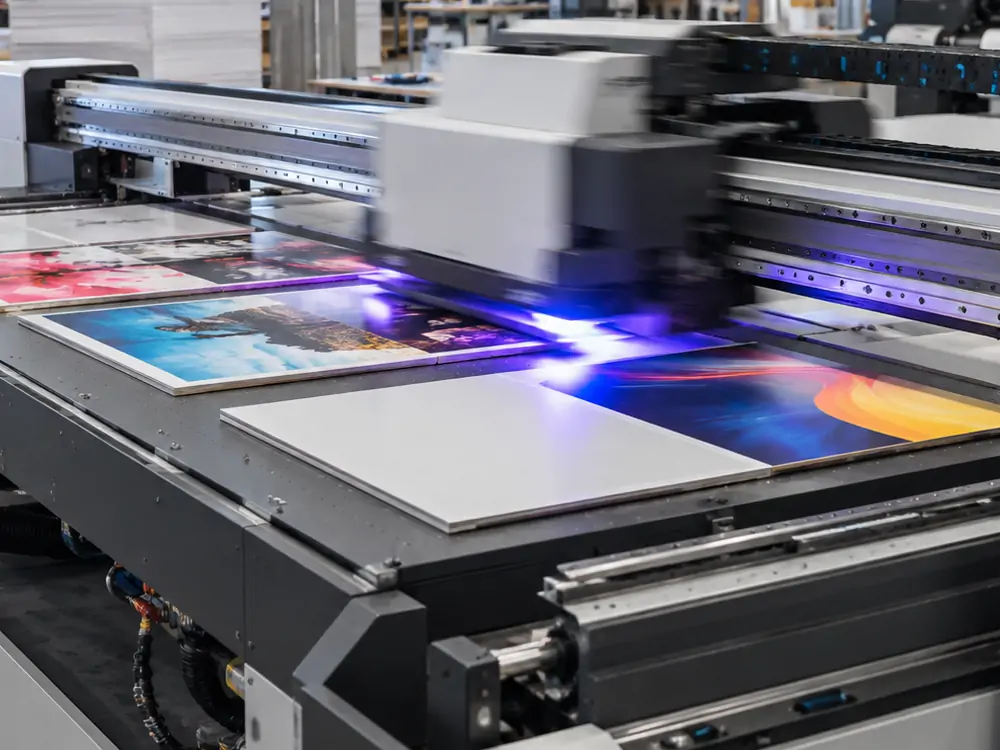
Color inconsistency means the color of the prints varies throughout the design. It may be supersaturated at some points and fade at others.
That is where you should focus and bring the correct solutions!
Common Causes
Common causes of the color inconsistency include:
- Incorrect ink mixing
- Inconsistent ink viscosity
- Different ink film thicknesses
- Changes in curing conditions
- Screen wear
- Substrate variations
- Inconsistent squeegee pressure
- Incorrect color formulation
- Ink contamination
Typical Solutions
Here are a few typical solutions to such a problem.
- Mix UV ink according to the manufacturer’s recommendations.
- Maintain consistent ink viscosity.
- Use the same mesh and screen specifications throughout the job.
- Maintain consistent squeegee pressure.
- Keep printing speed consistent.
- Maintain stable UV curing conditions.
- Use consistent substrate batches whenever possible.
Problem #6: Screen Blockage
Screen blockage occurs when UV ink builds up in the mesh, causing a blockage. Consequently, ink can’t pass through the mesh properly.
Common Causes
Here are a few common causes of screen blockage.
- Exposure to UV light
- UV ink curing inside the mesh
- Long production interruptions
- Incorrect ink viscosity
- Dirty screens
- Excessive ink buildup
- Poor screen maintenance
- Improper cleaning procedures
Typical Solutions
Here are a few tips to resolve such issues.
- Keep the screen away from unnecessary UV exposure.
- Avoid leaving UV ink in the screen for extended periods.
- Follow the ink manufacturer’s recommendations during production breaks.
- Clean the screen promptly after production.
- Use appropriate screen-cleaning products.
- Inspect the mesh regularly for early signs of blockage.
Problem #7: Image Distortion
Image Distortion occurs when a printed image shifts, stretches, or fails to align. There can be several causes and solutions.
Common Causes
The common causes of image distortion include:
- Incorrect screen tension
- Excessive squeegee pressure
- Screen movement during printing
- Incorrect off-contact settings
- Poor screen mounting
- Substrate movement
- Incorrect machine alignment
- Inconsistent substrate positioning
- Improper registration setup
Typical Solutions
Here are a few typical solutions.
- Check screen tension before starting production.
- Check machine alignment and registration settings.
- Keep the substrate firmly positioned during every printing cycle.
- Avoid excessive squeegee pressure.
- Maintain consistent off-contact settings.
Conclusion
UV screen printing can produce attractive results, but it may encounter a few challenges under certain conditions. Poor adhesion, incomplete curing, pinholes, uneven ink coverage, color inconsistency, screen blockage, and registration problems are the most common issues. You should follow our tips to find the correct solutions.
If you are looking for UV screen printing machines, look no further. Auto Print Machine has one of the best solutions and delivers the expected results. We have premium-grade machines with guaranteed performance. Contact our experts to get a quote!