Cylindrical screen printing is one of the most effective ways to print logos, images, or any other design on round products. But the round surface keeps moving, which can cause several problems. If you don’t fix them, they can affect print quality and waste material. That’s why, in this guide, I will cover 8 common cylindrical screen printing problems and how to fix them. So let’s get started.
8 Cylindrical Screen Printing Problems & Their Effective Solutions
If you are new to cylindrical screen printing, you’re likely unfamiliar with its common issues. If so, don’t worry. Below, I will discuss the most common issues you may face during printing and how to fix them.
1. Uneven or Inconsistent Prints
Uneven prints are the first major issue, where the design doesn’t look the same across the cylindrical surface. You will notice one part looks dark and clear, while another looks lighter or incomplete. The main reason is uneven contact between the screen and the product. Remember, a cylinder is curved. So the screen must follow that shape in the right way as the product rotates. If the product moves slightly in the wrong direction, or the pressure changes during the pass, the ink will not reach every area evenly.
Solution: To resolve this issue, first check that the cylinder is seated firmly in the correct position. Make sure it rotates smoothly without wobbling or slipping. Then check the screen and make sure it is properly tensioned and aligned.
2. Ink Smearing
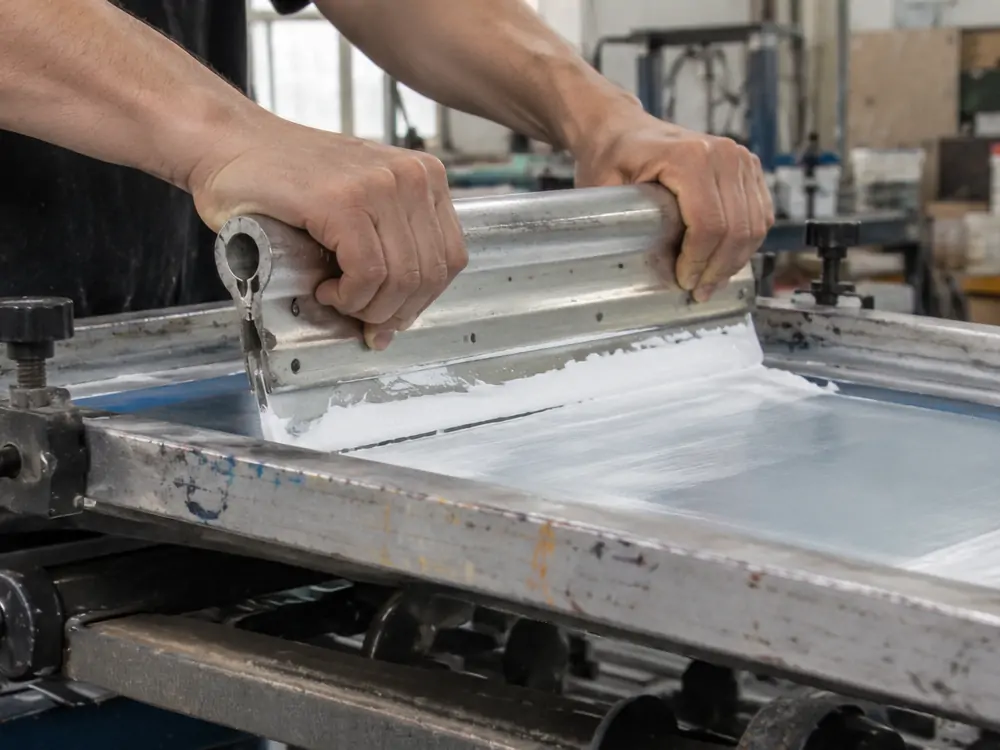
Ink smearing or blurring happens when the design doesn’t have a clean shape. The edges of the design look messy or even spread out. This usually happens because you have used too much ink or applied too much pressure during printing. Generally, if you press the squeegee too hard, more ink passes through the screen. This ink then spreads on the surface.
Solution: First, check the ink and make sure it has the right consistency. Then reduce excessive squeegee pressure and keep the printing movement steady. Also, give each printed product enough time to dry before using it.
3. Poor Adhesion of Ink
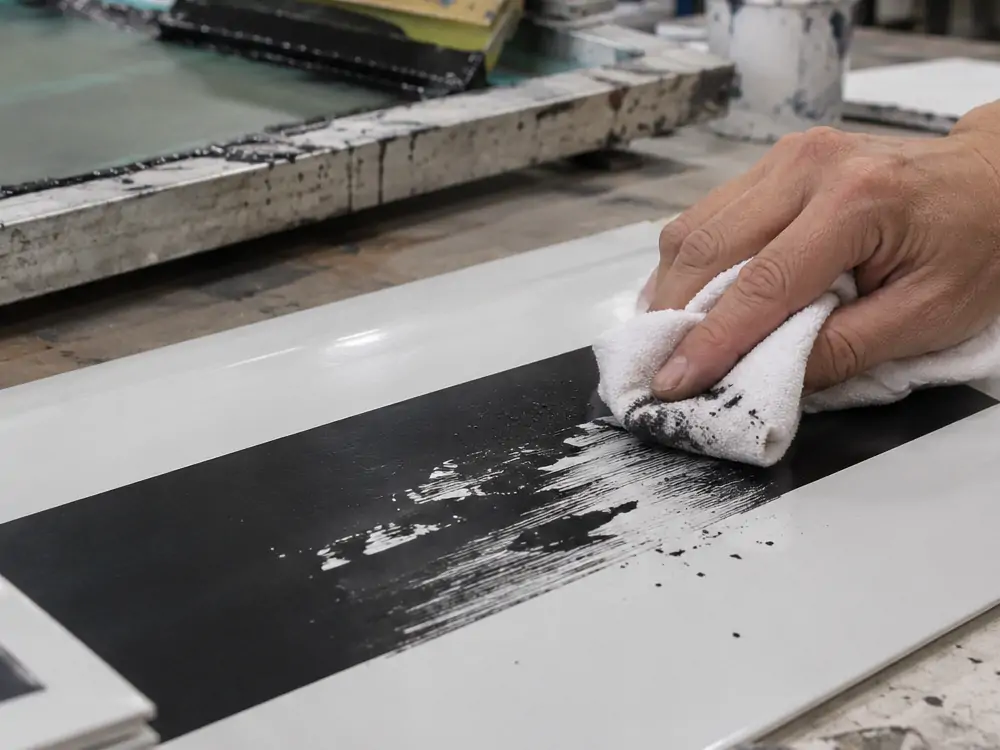
Sometimes the print looks fine and smooth when it comes out of the printer. But the ink doesn’t stick to the product surface. There will be scratches, rubbing off, or peeling after some time. This is called poor ink adhesion. The product surface is the main cause. If dust, oil, fingerprints, or moisture is present between the ink and the material, the ink will definitely not stick.
Solution: To prevent this issue, clean the product surface properly before printing. Make sure it is dry and free of oil and dust. Then check whether the ink is made for that particular material. If not, change it.
4. Misalignment in Prints
Have you ever printed a logo on a bottle but found that it sits too high, too low, or off to one side? That’s most likely a design misalignment problem. Here, the design doesn’t land where you wanted. This happens when the product isn’t positioned correctly during printing and moves. Even a small movement changes where the design lands.
Solution: Before starting a production run, check the position of the product, screen, and artwork. Make sure the cylinder is held firmly and rotates without slipping. If you are using a machine, also check its registration settings.
5. Ink Build-Up on the Printing Screen
During printing, you might notice ink collecting on parts of the screen. At first, it didn’t seem like a big issue. But if more ink builds up, it highly affects the smoothness of your prints. As a result, the design becomes uneven, and some areas receive more ink than they should. This issue happens when the ink is too thick or doesn’t move through the screen properly.
Solution: The easiest way to fix this is to check the ink before printing. It should have the right consistency. Also, watch the screen while printing, and don’t wait until a large amount of ink has built up.
6. Pinholes or Missing Ink Spots
A printed design might normally look smooth and solid. But sometimes, you see tiny dots or little empty areas where the ink is missing. These small gaps are basically known as pinholes. If we discuss the reasons, the major one is dust. Why? Because it prevents ink from reaching some spots. Stencil problems can cause them too. If part of the stencil is damaged, it will prevent ink from reaching underneath.
Solution: The best solution is to improve cleanliness. Keep the screen, product, and nearby work area free from dust and other particles. If the same spot is missing on every print, take a close look at the screen and stencil.
7. Ink Bleeding or Spreading
Sometimes ink doesn’t stay where you want it to. Instead, it slowly spreads outside the printed design and eventually makes the edges look messy. For example, the letters of a logo look wider and thicker than they should. This is what we call ink bleeding. Ink bleeding occurs because of high squeegee pressure or when the ink is too thin.
Solution: To prevent this, make sure the ink isn’t too runny. Moreover, avoid using more squeegee pressure than needed. The screen also needs to suit the design and ink.
8. Cracking & Peeling After Curing
No matter how successful the print is, problems can still arise after printing. For example, during drying, you may see the ink start to peel or crack. This indicates the ink hasn’t formed a strong bond. The product material may be the reason. Not all inks work for all surfaces. An unsuitable drying method can also cause this.
Solution: First, make sure the ink is made for the material you are printing on. Clean the surface before printing so dirt or oil does not get between the ink and the product. Then follow the ink’s drying or curing instructions.
Conclusion
There is no doubt that cylindrical screen printing gives you attractive prints. However, small problems sometimes get in the way. For example, you might face uneven prints, ink spreading, poor adhesion, misalignment, and more. But the good news is that most of them can be fixed with a few simple adjustments. In this guide, I discuss the main problems and their possible solutions.